


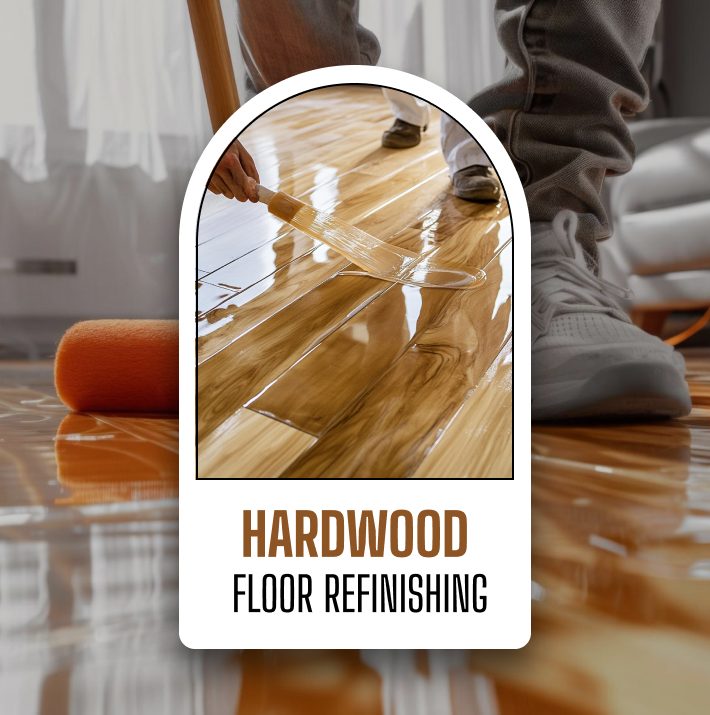
Stop Ruining Your Home! The Hardwood Floor Refinishing Secrets Professionals Hide!
Before we decided to move into our new dallas home, we decided to do some hardwood floor refurbishing in several rooms!
And here I am, ready to share all the scoops about it!
During the time refinishing the floors, I learned a few tricks along the way!
Which is why I am excited to dish out everything I know so your project goes smoothly from start to finish.
First, we prepped the space. And then the real transformation began. It is amazing how a fresh finish can totally change a room’s vibe!
I have simplified the process here to help you feel like a pro. Stick around to see how we made our floors shine!
Why Do People Choose Hardwood Floor Refinishing?
Let us start by looking at our floors! So, before we started, the wood had an old finish that turned very orange over time.
In fact, it was so dark that our team could not even tell if the wood was red or white oak.
A. Why White Oak Matters
Luckily, we discovered they were white oak. This white oak is much easier to style for a natural look.
After our hardwood floor refinishing, the change was literally visible. I honestly could not be happier with how bright and fresh everything looks now!
B. The Big Reveal
We actually did the hardwood floor refinishing in two different stages. So, first, we fixed the main rooms.
After that, we added wood to the kitchen.
When you see the side-by-side photos, the difference is amazing! It really shows how much a little love and the right finish can change your entire home over time!
Hardwood Floor Refinishing: How Can You Plan And Prepare
Before you start your hardwood floor refinishing, take a moment to think about your future!
It is really necessary to know whether you have any plans for a major remodeling.
For instance, we waited in our kitchen since we knew we would be changing all the cabinets and the shape of the kitchen island. This way, you do not have to pay to finish the same floor twice!
1. Always Prepare Like A Professional!
After that, you need to think about all the small spaces, including bathrooms. We actually decided to pull out our toilet and sink first.
Reason? Well, because if you plan to refinish around them and then buy a new sink later, you might see some orange footprint from the old wood underneath!
Moreover, we also decided to remove old columns. It felt like we were tearing the house apart. However, it was worth it to get everything to match perfectly.
2. Timing Is Everything!
Finally, you must try to do your hardwood floor refinishing before you move in.
It makes life so much easier! I timed ours so the floors were dry and safe before the moving truck arrived.
Moreover, a little planning goes a long way in making your home look amazing without the extra stress.
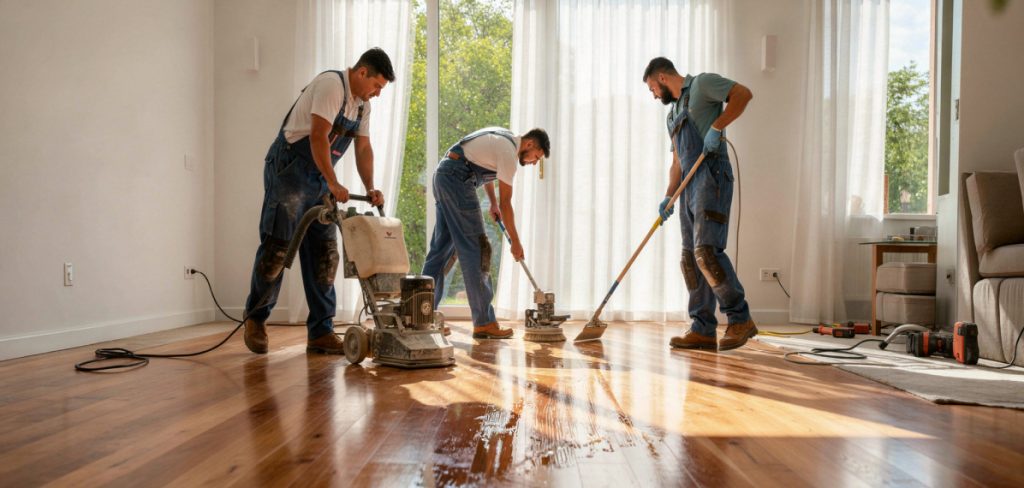
Hardwood Floor Refinishing: The Sanding Process
Here comes the real magic, the sanding. This plays a huge role in refinishing. The professional crew successfully removed the trim along the walls.
After that, they use large machines on the main floor as well as the small hand sanders in the tightest corners.
It was so exciting to watch that old orange color vanish with every pass!
A. Fixing The Flaws
If your floors have gaps or scratches, don’t worry. Here is how they handle it:
- Wood Filler: They spread a special paste to fill in any holes or cracks.
- Smooth Finish: Once it dries, they sand it again to make everything look perfectly flat and new.
B. Managing the Mess
Let’s talk about dust. Even with “dustless” equipment, things get a bit messy. To keep your sanity, try these tips:
- Cover Up: Firstly, you can use plastic sheets on bookshelves and furniture.
- Protect Blinds: Trust me, you need to wipe them down or cover them first!
- New Filters: Lastly, change your home’s air filters right after the job is done.
Now, the hardwood floor refinishing creates a little dust. However, the beautiful, smooth results are totally worth the cleanup.
Hardwood Floor Furnishing: Here’s The Cost Structure
Here is a simple breakdown of the costs and tips for your hardwood floor refinishing project:
Average Costs: Expect to pay between $3 and $6 per square foot. The price usually depends on your location and the quality of the finish you choose.
The Big Basics: My project cost $4.75 per square foot for sanding, staining, and using a high-quality water-based top coat.
Saving Money: You can cut costs by installing shoe molding (trim) yourself. Buying the materials is cheap if you have the tools to do the work!
Optional Splurges: I spent $100 per vent to replace old metal covers with flush oak vents. It’s an extra expense, but it makes the floors look seamless.
Hidden Repairs: Do not forget to budget for repairs. Fixing gaps where a fireplace or old walls used to be will add to your final bill.
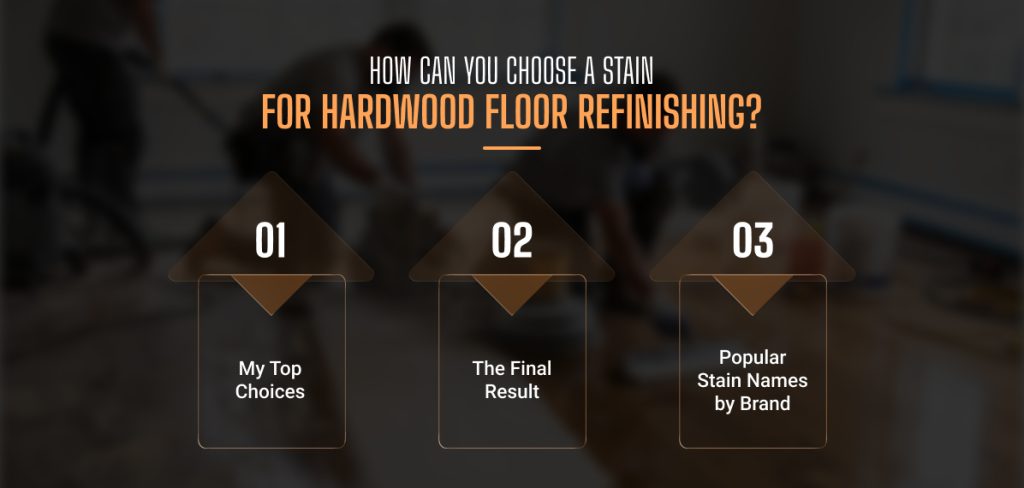
How Can You Choose A Stain For Hardwood Floor Refinishing?
Once the sanding is complete, it is time to pick the stain. Trust me! For me, this was the most exciting part of the entire floor refinishing.
I would suggest you test a few colors directly on your wooden floors. This will help you to understand how they would look!
· My Top Choices
For my house, I wanted something light and natural. Which is why we tested three different options:
- Bona Mega One: This was a clear finish, but it looked a bit too yellow for my taste.
- Bona NaturalSeal: This one was the winner! It made the wood look fresh and clean, as if it had just been sanded.
- Country White: We tried a white-washed look. However, it made the wood look a little too pink.
· The Final Result
In the end, we chose the NaturalSeal with a satin top coat. At first, I was nervous about how a small test square would look across the whole house.
However, it turned out beautiful! It has a soft glow without being too shiny. Choosing the right stain during hardwood floor refinishing really makes all the difference in your home’s vibe.
· Popular Stain Names by Brand
Most professional projects use three main brands: Bona, DuraSeal, and Minwax.
| Tone | Bona (DriFast) | DuraSeal (QuickCoat) | Minwax (Wood Finish) |
|---|---|---|---|
| Light/Natural | Birch, White, Natural | Weathered Oak, Natural | Spring Oak, Pickled Oak |
| Medium Brown | Provincial, Early American | Provincial, Special Walnut | English Chestnut, Early American |
| Cool/Greige | Grey, Sand Dune | Driftwood, Classic Grey | Classic Gray |
| Dark/Luxury | Jacobean, Ebony | Dark Walnut, Coffee Brown | Dark Walnut, Espresso |
Hardwood Floor Refinishing: Oil-Based Vs. Water-Based Polyurethane
I choose water-based topcoats for hardwood floor refinishing. Why? Well, for starters, oil-based options tend to turn yellow or “amber” as they age.
On top of that, the water-based finishes stay clear. This way, your floors look just as fresh in ten years as they do today!
Another huge plus is the convenience. They do not smell nearly as strong. Moreover, they dry incredibly fast.
For instance, I used Bona Traffic. This cures in just seven days. This meant I could roll out my new rug after one week! Whereas oil-based finishes usually require a whole month!
Key Differences In Performance
Before you choos yours, here are a few oil-based Vs. water-based polyurethane differences that you must check out!
1. Scratch vs. Dent Resistance
Water-based poly cures into a harder and thinner shell. This is what makes it more resistant to surface scratches from grit and pet claws.
On the other hand, oil-based poly is softer and more flexible. This helps it absorb impacts (like dropping a heavy pot) better without chipping.
2. Maintenance
Secondly, water-based finishes are generally easier to touch up or “screen and coat” (adding a new top layer without full sanding).
On the contrary, oil-based finishes are more resilient against chemical spills. However, it can be harder to spot-repair.
3. Yellowing
This is the most significant aesthetic difference. Oil-based finishes amber or yellow as they age, especially in direct sunlight.
Whereas water-based finishes remain clear. It is mandatory for maintaining the look of grey, white-washed, or naturally light floors like Maple.
Replace The Shoe Mold: Should You Paint Or Stain It?
Once your hardwood floor refinishing is complete, you will need to pick the perfect shoe molding.
This is the trim that hides the gap between your floors and walls.
So, you basically have two choices:
- Stain it to match the wood
- Paint it to match your baseboards.
I was curious about what others liked, so I asked the experts who were helping me in this. According to them, 84% of people preferred the painted look!
Honestly, I totally agree.
In our home, we switched from stained trim to a crisp, white painted version, and it made such a huge difference. Moreover, the room feels much cleaner and more modern now.
Furthermore, our installers used a simple white quarter round, but you can definitely go for something more decorative if you like.
Now, even though stained wood is traditional, painting the molding really helps your floors pop. It is a small detail. However, it is the perfect finishing touch for your home!


Leave A Reply