






Avoid These Common French Drain Mistakes While Installing
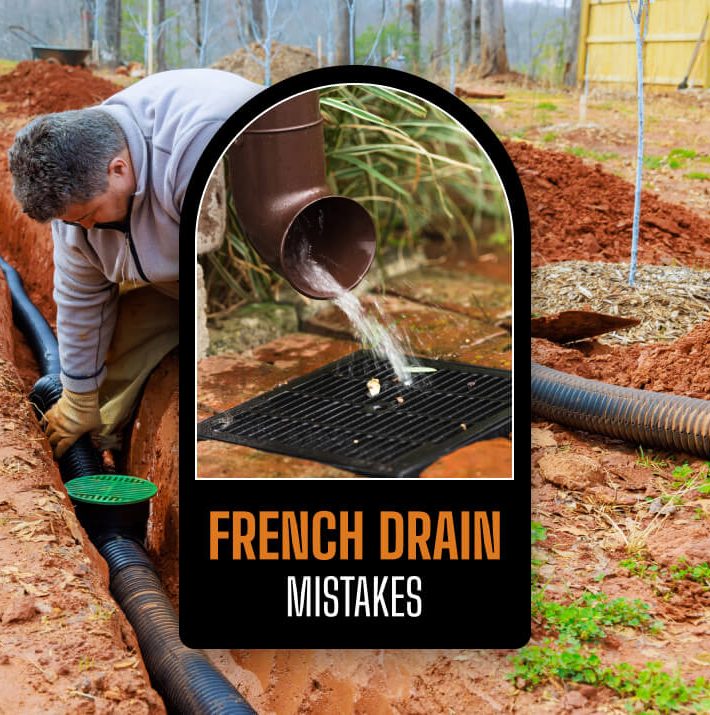
When we think about getting a house, even if it is just the thought of renting something.
The things that emerge in our minds are not necessarily aesthetic, such as wall paint or renovation.
First thoughts are always practical, like whether the ceiling is leaking, or to ensure there are no molds, and whether the water supply is okay, aka the drainage system.
The drainage system should be refined and up to the mark in any house.
One such fine drainage system is the French drain. But, you are right, it is slightly complicated, which is why it is so prone to mistakes.
If you are wondering what the common French drain mistakes are and how to avoid them, then you have come to the right place.
This is because installing a French drain properly will easily prevent water damage to your home and surroundings.
French Drains – A General Overview

If you have poor drainage in your yard or it is low-lying, there is a high chance of standing water.
This can be bad for your property and cause significant damage. If you have stagnant water in your soil, it can damage the lawn, tree, basement, and foundation.
As a result, it will significantly hurt your home’s value. Furthermore, it will also lead to various costly repairs in the long run.
This is where you will need French drains for your home, as they will provide you with cost-effective solutions to protect your property.
This can be a great thing if you have standing water. You can also reduce the risk of flooding.
Moreover, it will help your prospective buyers, since you have invested in proper maintenance to protect your property.
If your ground is low and you have poor drainage, flooding can be a common problem. In such cases, French drains offer you the best solutions.
Basically, French drains consist of ditches and pipes that divert water away from your home and yard.
As a result, there is no waterlogging, so you can protect your home’s foundation.
Major Features of French Drains

French drains move water from one area to another. Hence, this drainage system consists of a ditch surrounded by gravel and a perforated pipe.
The water drains through this pipe. As the pipe is tilted downward, gravity does its job, directing the water to its appropriate place.
You can then divert the water in a drainage ditch, storm drain, sump pump, or sewage system.
With the help of the French drain, the water gets an easy path to flow through the gravel and the drainage pipe.
If you want gravity to do its job, you must keep the pipe at a downward-sloping angle.
Furthermore, an article on US News Real Estate recommends – “A weeping tile or interior French drain can also be used to prevent basement flooding and protect the property’s foundation from water damage.
A weeping tile is a type of French drain and is used to protect a structure against hydrostatic pressure.
They’re placed around the perimeter of the home to draw water away from the foundation.”
Pros and Cons of French Drains

The following are the major pros of French drains that you need to know:
Pros
Here are the major pros of French drains that you will benefit from:
- prevents flooding
- reduces the risk of long-term water damage
- lasts for thirty-forty years
- cost-effective
- aesthetically pleasing (covered with small rocks, decorative grates, and plants)
Cons
Here are a few cons of French drains that you need to be aware of:
- The installation process takes a lot of time.
- You might need to remove some existing structures to dig trenches.
- Digging a vulnerable area can be dangerous.
- If clogged, French drains can overflow, which might lead to bigger damage.
What Is French Drain Installation?

French drainage is an easy way to remove unwanted groundwater, consisting mainly of a gravel-filled trench and a few perforated drainage pipes.
The gravel collects surface water and water from the wet soil, then seeps into the pipe that drains it.
A French drain is filled with gravel, and a perforated pipe runs through the trench, allowing water to drain from your garden in a natural flow.
You may be able to purchase the equipment and pipes to make a French drain yourself, depending on the area of the garden and the drainage problem you are facing.
How To Install A French Drain System?
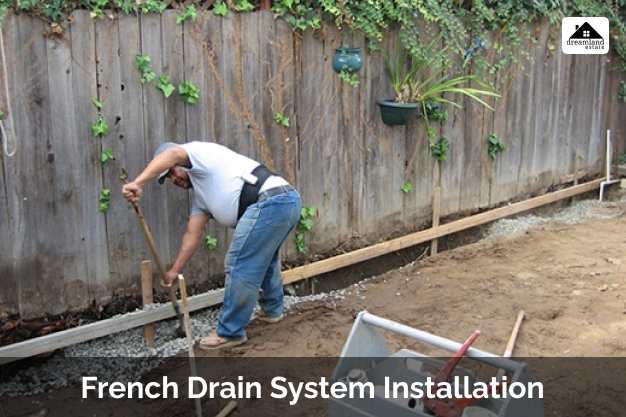
Before you understand french drain mistakes you should learn the process of the French drainage system. Here is a step-by-step guidance of how it is done.
Step 0: Always Call 811 Before Digging
Before you touch a shovel, you must call 811 (or your local utility hotline). Skipping this step puts you at risk of hitting underground gas lines, water mains, or fiber optic cables.
Professional contractors always have utilities marked a few days before excavation begins.
First Dig A Trench Which Is Wider Than The Pipe Of The Gradient
Choose a trench location that naturally goes downhill, or dig a trench with a 1% slope to create your personal slope.
This will allow gravity to directly get the water to the destination of choice. Create a trench wide enough to hold the pipe, with an aggregate jacket and a layer of membrane.
Then The Water-Permeable Fabric Is Placed On The Trench
To do this, place the drainage cloth on the bottom and sides of the trench. On both sides of the trench, store enough cloth to put on the pipe, like wrapping a gift!
Fill The Bottom With Aggregate
Use a commercially available landscaping power pack to fill about one-third of the trench bottom.
Larger aggregates ensure that water flows faster and probably less blockage, as all debris entering the system flows through the gaps in the aggregate.
Aggregates with a diameter of 1-2 cm are generally ideal.
Then The Perforated Pipe Is Laid
Place the drainpipe of your choice along the perforated hole facing down. If you move it the other way around, the pipe won’t drain until it’s full.
Use very strong, sturdy pipe connectors and couplings to extend the drain beyond the pipe’s capacity.
Material Tip: Avoid cheap, flimsy corrugated pipes from big-box stores. They collapse easily under the weight of the soil, and dirt gets trapped inside their ridges.
Instead, use heavy-duty single-wall perforated HDPE (High-Density Polyethylene) pipe.
HDPE is highly flexible, moving naturally with clay soils as they heave during temperature shifts without cracking.
Then Add More Aggregate In The Trench
Shovel or dump a similar size aggregate on top of the trench pipe. This should be continued until the gravel is about 4 inches from the beginning of the trench.
Cover The French Drain With The Other Remaining Fabric
The landscape French drain fabric that was supposed to extend beyond the end of the trench needs to be wrapped around the pipe and aggregate.
Make sure there are no or minimal gaps between the fabric and the edges.
This prevents dirt from entering the drain and eventually clogging the system, which is a very common French drain mistake.
Does French Drain Need Fabric?
The industry standard for French drains is 4 to 4.5 ounces of a non-woven drain.
Avoid using perforated tubes wrapped in socks without a drain cloth. These can easily become clogged with dirt and dirt.
Think of this step like wrapping a tight burrito. The geotextile fabric must go down into the empty trench first, followed by your gravel and pipe.
Finally, fold the excess fabric over the very top of the gravel layer before backfilling.
This complete encapsulation prevents soil and fine silt from turning your gravel into mud over time.
The Last Part Is To Hide The Drain
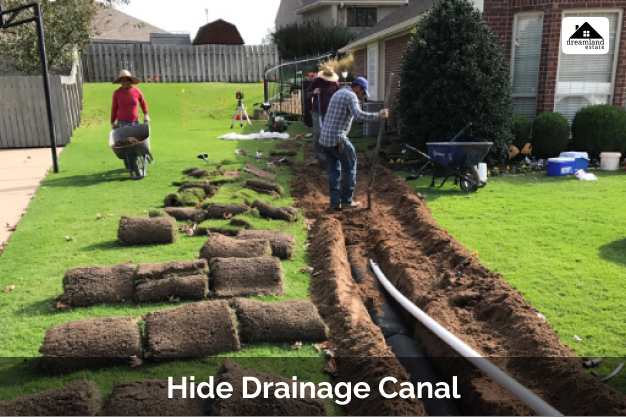
You can now choose to put a soft layer of soil or the like on top of the French drainage canal without hiding that it is in it.
This can be useful in agricultural applications where the location of the French outflow is important, but the appearance of the land is not.
Someone added a layer of decorative aggregate after the landscaping fabric was wrapped around this system, as shown below.
For residential and commercial projects that include gardens, parks, and other areas.
Now this area can be covered with furniture if you have a French-drain basement, or with grass if outdoors, to hide the work.
Do You Cover French Drain With Dirt?
You have to cover the trench pipe with 12 inches of washed gravel. Place the filter cloth on the gravel so that the soil does not clog the pipe.
Now, if you want to know the best way to install a French Drain, you can easily follow the steps above.
French Drain In Basement
An interior French drain can protect your basement from flooding. However, it requires a specific indoor installation strategy.
To protect a basement, you must cut a channel into the concrete perimeter of the basement floor, lay the pipe, and route the water directly.
This can active sump pump system.
An exterior yard French drain alone will not relieve hydrostatic pressure underneath your basement floor.
French Drain Mistakes You Must Avoid!
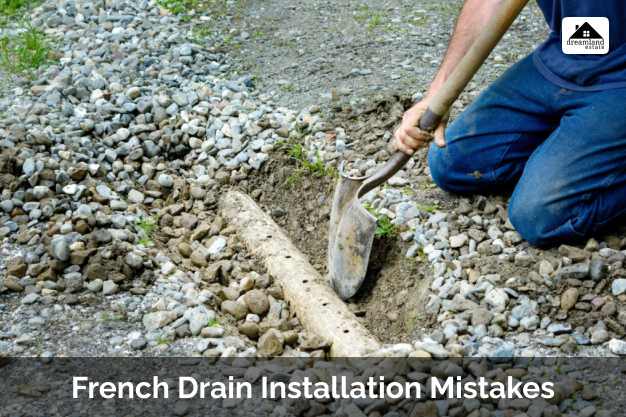
Now that we have understood the installation process, it is time to learn and avoid these French drain mistakes.
1. Not Understanding The Direction Of The Water Flow
Here we would like to evaluate the flood-prone areas of your garden. Before starting the plan, it is necessary to establish the general flow direction in the French drainage channel.
It is important that the water flows in the right direction away from your home.
2. Overlooking Zoning Regulations
It is important that the French drain does not adversely affect the land or public areas.
Both scenarios can lead to legal issues. For these reasons, you should check with your local building authority to avoid French drain mistakes.
Building codes, community rules, or zoning laws may limit drainage projects in your area.
Therefore, it is important to check the plan with the local building, zoning, or homeowner authority.
Diverting water onto a neighbor’s property is illegal in many jurisdictions and can result in civil lawsuits for property damage.
Always ensure your drain terminates at a legal discharge point, such as a municipal storm sewer or a designated dry well on your own property.
3. When You Can’t Comprehend The Slope
This is another common mistake in French drainage.
A slope is required for the French drain to function properly. It is important for the slope to descend at a rate of 1%.
This speed corresponds to a drop of 1 foot per 100 feet of French outflow.
Or the property’s natural slope is steep and may not be a problem. However, it is crucial to understand that steep slopes increase speed.
Do not try to eyeball a 1% slope. Use a string level, a laser level, or a transit level to verify that your trench drops exactly 1 inch for every 8 feet of linear run before you place your gravel and pipe.
4. Using Wrong Kind Of Gravel
Proper drainage rocks are important for proper drainage and permeability. Therefore, a filler is required around the natural stone.
This type of stone allows the material to flow better. Plus, with the right rocks, you don’t have to worry about debris clogging and breaking the French drain.
Choosing the right gravel for French drainage is crucial for optimal performance. Here are key considerations:
- Stone Choice: Opt for 1-1/2″ clean round rock for superior drainage, especially when washed.
- Avoid Pea Gravel: Steer clear of small pea gravel because the reduced space between stones limits flow rates.
- Caution with Crushed Rock: Avoid Crushed Rock (minus) to prevent compaction and fines that can clog pipe inlets.
This protective sock prevents fines from crushed rock from clogging your perforated or slotted pipe, ensuring it remains unclogged and efficient.
5. Trench Not Lined
It is also important to line the French drain with a cloth. Whenever possible, you should use continuous swaths to avoid French drain mistakes.
If not, you can stack the geotextile filter fabric at least 12 inches. However, it is important to drive staples into the ground to secure both ends of the cloth.
When laying the dough, fold the excess on both sides and cut it off later.
How Far Away From Foundation Should A French Drain Be?
This is a very common question people ask when they are trying to figure out the French drain mistakes.
It is recommended to be between 2 and 5 ft away from the foundation.
6. Choosing The Wrong Type Of Landscape Fabric
Choosing the right landscape fabric is critical to ensuring the functionality and durability of a French Drain system. Here’s why the material matters:
The two primary types, non-woven and woven fabrics, have distinct advantages.
- Non-woven fabric is ideal for water drainage, allowing water to pass through while filtering out dirt and debris.
- Woven fabrics, with greater pull strength, are better suited for applications requiring strength but may hinder drainage.
Pro Tip: Opt for a non-woven drainage fabric with 4 to 6-ounce weight for lining a French drain.
This weight offers excellent flow-through rates and durability, ensuring a long-lasting and efficient drainage system.
Avoid ultra-thick riprap fabric (8 oz+) designed for erosion control, as it’s not suitable for French drains.
Putting Excavated Soil Back into the Trench
One common mistake in French drain installation is the temptation to ease trenching by placing the excavated soil or clay back over the newly created drain system.
However, you need to avoid the practice to ensure the drain’s effectiveness.
The excavation and installation of a drain system typically occur because the existing soil doesn’t drain properly.
Ideal drain fields are porous, facilitating unimpeded water flow.
Reintroducing soil or clay into the drain system can lead to clogging, gradually reducing the drain’s capacity over time.
The bottom line is clear: Once you remove the soil, do not put it back in.
Failing To Account For Ground Settling
No matter how neatly you backfill, loose soil over a trench will naturally sink over the next 6 to 12 months as it rains.
If you fill the trench perfectly flush with the lawn, you will soon end up with a sunken, muddy path.
You just need to compact the backfilled soil layer by layer as you go, and leave a slight 2-inch mound over the trench line to prevent this. It will settle completely flat over time.
Pro Tip: To make your system future-proof, install a PVC cleanout riser at the highest point of your French drain.
This allows you to insert a garden hose or hydro-jet to flush out any silt or roots that bypass the fabric over the next 20 to 30 years without having to dig up the yard.
Read Also:




Leave A Reply